3 Ingredient Peanut Butter Cookies!

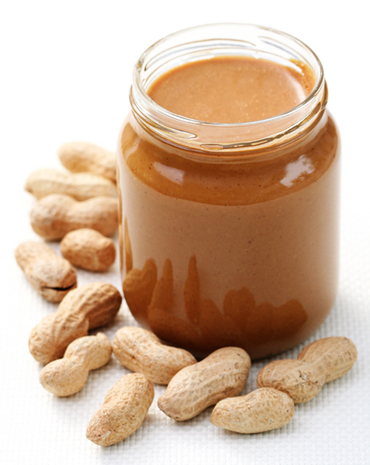
This is the world’s EASIEST and BEST Peanut Butter Cookie Recipe ever!!    My kids are constantly asking me to make these!!

  • 1 cup sugar
  • 1 cup Peanut Butter
  • 1 Egg

Mix all 3 in a bowl, roll them into a small ball and put them on a greased pan.  ( I like to use the non stick baking sheets, on top of my cookie sheet)

Bake them until you just start to see a small crack around the edges.   Be careful….These will burn on you in a heartbeat!!  They bake for approximately 10 minutes.   

When they come out, you can stick a Hershey’s kiss in the middle of them, or just eat them plain without the Hershey’s kiss.   

Most of the time, they don’t get a chance to cool in my house. read more

Related Images:


Chicken Enchiladas

This is a favorite in my household.   This is a recipe that I created when we were on a seriously tight budget with a family of 5. My family loves anything with Mexican flavors. I was needing to make dinner one night and found I had 3 chicken breasts to feed the entire family. I happened to have the rest of the ingredients in the pantry and fridge, so voila’….Chicken Enchiladas were created. 

The nice part about this recipe is your chicken breasts don’t have to be defrosted. ( I always forget to take something out of the freezer for dinner)  You can use the Sous Vide method of cooking your chicken. 

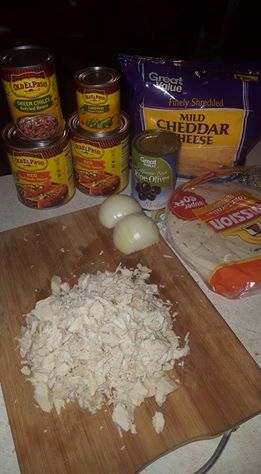
  • 2-3 Chicken Breasts
  • 1 Large can of Red Enchilada Sauce (any brand)
  • 1 can of diced Green Chiles
  • 1 can of diced Olives
  • 2-3 cups Shredded Mild Cheddar Cheese
  • 1/2 Large Onion, diced finely
  • 1 tsp Chili Powder
  • 1 tsp Onion Powder
  • 1 tsp Garlic Powder
  • 8-10 Flour Tortillas
  • Salt and Pepper to taste

Once you have cooked your chicken breasts, let them cool and dice into bite size pieces.  Put into a large mixing bowl.    Add diced onion and diced olives.    Here is where I don’t really measure, mainly because I LOVE cheese!   I take 2-3 handfuls of shredded cheese and add to the mixture.    Pour about 1/3 to 1/2 the can of Enchilada Sauce over the chicken mixture and mix well.   You don’t want it runny, you are adding just enough to get a coating of the sauce on all the ingredients.   Add salt and pepper to taste.

Related Images:


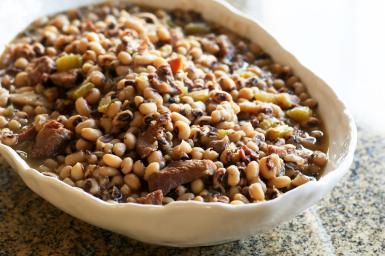
New Years Day and Black Eyed Peas

black-eyed-peas

When I was little, every year my dad would cook Corned Beef and Cabbage for New Year’s Day   He would also serve Black Eyed Peas, and we all had to have our Black Eyed Peas sometime during the day.   As I got older and started my own family, I decided to carry on that tradition.

I sat here today, thinking oh my….I better get to the store and get my Corned Beef and Black Eyed Peas.   Now I must admit, that I have always done the peas the lazy way, and just bought them in a  can, warmed them up and that was our dish.   I may add a little bacon if I was feeling a little “festive” that day, but for the most part I just cut up some onion and added to the canned peas.   I personally love them, although I can’t say that for the rest of the family.  My hubby likes them as much as I do, however the kids are a different story.  Of course that didn’t stop me from mandating that they ate them each year.    My daughter, Tiffany, always holds her nose and swallows.   She seriously hates them!!  I only require they have a teaspoonful each New Years, so she manages.   This year she is pregnant , so I am curious to see how that goes over.   LOL  My granddaughters have decided that they way their Aunt Tiffany eats the peas is the best way to get through the mandate of having to have their teaspoonful each year.   read more

Related Images:


Christmas Morning Casserole


christmas-morningI have been making this Casserole for the past 15 years or so and serving it on Christmas morning.  I love the recipe because by the time Christmas morning comes, I am exhausted.   Most of the time I have been up half the night wrapping presents, or when the kids were little, I was putting some type of toy  together.    The last thing I wanted to do on Christmas morning , after cleaning up the chaos of Christmas all over my living room ,was to go in the kitchen and cook a big breakfast.   However, being the mom, I had to feed everybody!!

My older sister had made this one year , many years ago and I fell in love with it!!   You put it together the night before, and put in the refrigerator.   Then on Christmas morning as you are turning the coffee pot on (usually before 5 am in my house, as the kids would never let me sleep past that!) I pull it out and pop it in the oven.  By the time we are all done with gifts, breakfast is done!!    Easy Peasy!!!  Then I can kick back and relax and enjoy the kids and all their new toys…play games, watch the fashion show as they try on their new clothes, etc.

So here is my recipe for Christmas Breakfast Casserole   (of course, the recipe is good for any time of the year!)

Ingredients

  • 1 pound ground pork sausage
  • 1 teaspoon mustard powder
  • 1/2 teaspoon salt
  • 4 eggs, beaten
  • 2 cups milk
  • 6 slices white bread, toasted and cut into cubes
  • 8 ounces mild Cheddar cheese, shredded

Directions

  • Crumble sausage into a medium skillet. Cook over medium heat until evenly brown; drain.
  • In a medium bowl, mix together mustard powder, salt, eggs and milk. Add the sausage, bread cubes, and cheese, and stir to coat evenly. Pour into a greased 9×13 inch baking dish. Cover, and chill in the refrigerator for 8 hours, or overnight.
  • Preheat oven to 350 degrees F (175 degrees C).
  • Cover, and bake 45 to 60 minutes. Uncover, and reduce temperature to 325 degrees F (165 degrees C). Bake for an additional 30 minutes, or until set.
  • read more

    Related Images:


    Roast in CrockPot

    Here is my family’s new favorite Roast Recipe.    I do this one in the Crock Pot, mainly because my oven is broke right now.    I love the gravy over it!!   found this somewhere on the internet, I wish I could give credit to the original recipe’s author… but I honestly can’t recall where it came from?
    roastroast-2

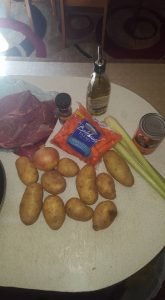
    1 Chuck Roast (2-3 lbs)

    1 bag of Baby Carrots (1 lb bag)

    3 stalks Celery, chopped

    7-8 Potatoes, peeled and quartered

    1 Medium Onion , Quartered

    1 Cup Beef Broth

    1 tbsp Corn Starch

    Olive Oil

    SEASONING MIX:

    2 tbsp Steak Seasoning Mix (I use a store bought one, it has peppercorns, garlic, paprika, salt, etc)

    1 tbsp Rosemary

    1 tbsp Sea Salt

    1 tbsp Fresh Ground Pepper


    In a small bowl, take all ingredients listed for Seasoning Mix, and mix together.  roast3

    Pat the roast dry, and drizzle Olive Oil on both sides.   Take 1/3 of the Seasoning mix, and rub it into the roast.    Put your roast in a hot frying pan and brown on both sides.   (make sure you have seasoned both sides of roast)  Once both sides are brown, put your roast into your Crock Pot.roast6

    Add your chopped vegetables, potatoes, onion, carrots and celery to a large bowl.  Lightly drizzle Olive Oil over them and toss it all together to coat the vegetables well.   Then sprinkle the rest of your seasoning mix over the vegetables.   Using the same pan as you just browned your roast in, pour all the vegetables into pan and cook for about 5 minutes.  Be sure to keep stirring them around so they don’t burn.    You are basically just sealing the seasoning mix onto your vegetables at this point.roast5

    Pour the vegetables over the top of the roast in your Crock Pot, then pour the 1 cup of Beef Broth over the top.   Put your lid on and cook for 6 hours on High or 8 hours on Low.raost8

    MAKE GRAVY TO GO OVER ROAST:

    Use a turkey baster to pull the juices out of the Crock Pot and put into a sauce pan.    In a small bowl, put the corn starch and add drops of water, until you have a runny kind of paste.     Heat the juices to boiling in your sauce pan, and whisk the corn starch mixture into the boiling juices.  Stir constantly until the sauce is thickened.  Now at this point, depending on how much juice I have pulled from the Crock Pot, I sometimes have to add a little more corn starch/ water paste to the pan.   Just be sure to keep stirring until it gets thick.

    I usually put my roast and vegetables out on a platter or when I am not being “fancy” I use a cookie sheet.    Once I have it all laid out, I pour the gravy over the top of it all.
     

    Related Images:


    Pasta Salad

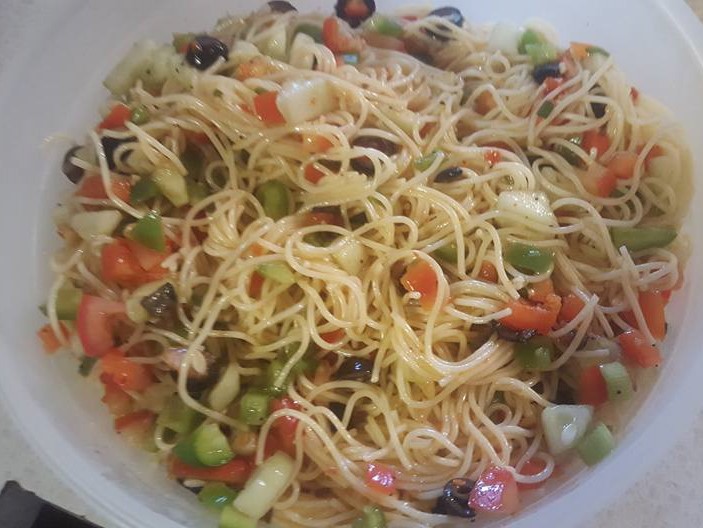
    pasta-salad3-2

    My husband and kids beg me to make this particular Pasta Dish, and it doesn’t matter what time of year it is.    I do make it more in the Summer time than any other season, simply because I can make this and fry up a hamburger on the grill, and ta-da, dinner is served.   Or we will just eat this for supper , if it is just my hubby and myself.     I admit, that doesn’t happen often, as we almost always have one or two of the kids/grandkids home at dinnertime.

    This has been a family favorite in our household for years, so I thought I would share it with y’all!!    Give it a try tonight, it is light and delicious and here is the best part…Mom doesn’t really have to cook!! read more

    Related Images:


    Hamburger Casserole

    This is one of my family’s favorite casseroles. It has the vegetables that I want them to eat and the french fries that even my “picky” eaters will eat.

    1 lb hamburger
    1 pkg Frozen French Fries
    1 pkg California Style Frozen Vegetables
    1 can of Cream of Mushroom Soup ( I have used cream of chicken in a pinch when out of mushroom)
    Several Cups of shredded cheese

    Cook French Fries like you normally would, according to package . In the meantime, brown hamburger and drain grease. Put hamburger into a large bowl and add the Frozen Vegetables. Add can of Cream of Mushroom Soup and mix up . Spray a 9 x 14 pan with non stick spray. Line the bottom of the pan with the french fries. ( you may have a handful left over ) Then spread the hamburger/frozen veggie mixture on the top of the french fries. Put several handfuls of shredded cheese on the top. You want enough to cover the whole dish. Bake in 350 degree oven for about 45 minutes.

    This is perfect to make up the night before, put in the fridge and pull it out and cook when you get home from work.

    (I will add some pictures the next time I make this)

    Related Images:


    Cream Cheese Danishes

    I found this recipe somewhere (can’t recall where, wish I could give them credit) and HAD to share it with my followers! It is wonderful, and my best advice is to double it if you have family members like mine. They devoured them in less than 5 minutes and were screaming for more!!

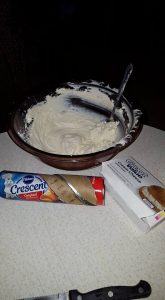
    2 Cans Crescent Rolls
    1 pkg Cream Cheese (softened)
    2 TB Melted Butter
    1/2 Cup Brown Sugar
    1/4 Cup White Sugar
    1 Tsp Vanilla

    GLAZE:
    1/2 Cup Powdered Sugar
    1 Tsp Vanilla
    4 Tsp Milk

    PreHeat oven to 350
    In a bowl , mix your cream cheese, sugar and vanilla flavoring up. Set this mixture aside.
    DANISH
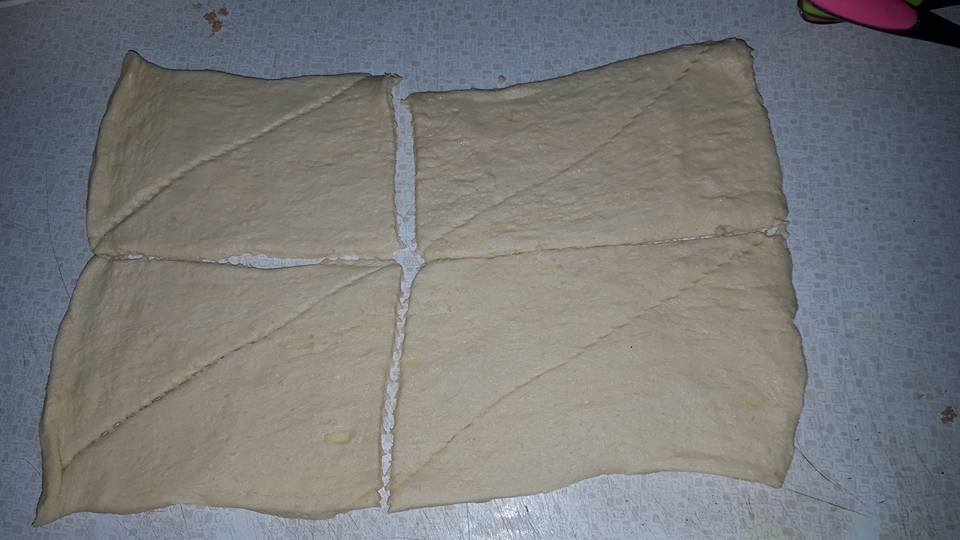
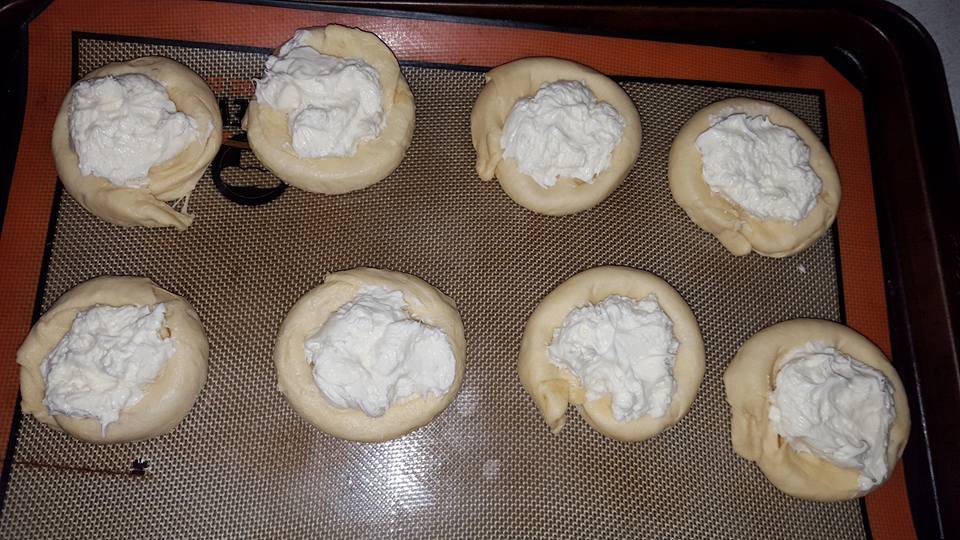
    Lay out your Crescent Rolls and take 2 of the triangles and push together and seal the seams , so that end up with a rectangle. Do that with all of them and you will have 8 rectangles. DANISH2 Brush the Crescent Roll with the melted butter and sprinkle 1 tsp of brown sugar on top. ( I added a couple pinches and didn’t measure…just make sure you have a little brown sugar all over the top of them) Then roll the Crescent Roll starting at the long end. Pinch your ends together. Once you have it rolled, then take it from the long side and roll into spiral, like a snake. Now you want to push the center of it with your fingers so you can put your filling in the center. The sides should be stretched and should look like this once you fill them. DANISH4 Get your cream cheese mixture and put about 2 Tbsp of the mixture in the middle of your Crescent Rolls. Bake for about 16-18 minutes, until golden brown.
    MAKE THE GLAZE:
    Mix together the powdered sugar, milk and vanilla flavoring.
    Drizzle the glaze over your danishes as soon as they come out of the oven.
    Voila’………Home made Danish’s!

    Related Images: